Create an Account with TinaCMS
TinaCMS Backend
While the fully local development workflow is the recommended way for developers to work, you'll likely want other editors and collaborators to be able to make changes on a hosted website with authentication. Since we are aiming for collaboration, we will use the TinaCMS dashboard to setup our site and eventually invite other users.
Create an Account
- Visit app.tina.io, create an account, and signin.
- On the landing page, you'll notice that there is an onboarding route for the Tina Cloud Starter. Click 'Fork Starter in Github' to have the dashboard walk you through the configuration needed to setup this starter as a TinaCMS project.
- Once you create the project, click into that project's Overview section and copy the unique Client ID. You'll need this later on in this tutorial.
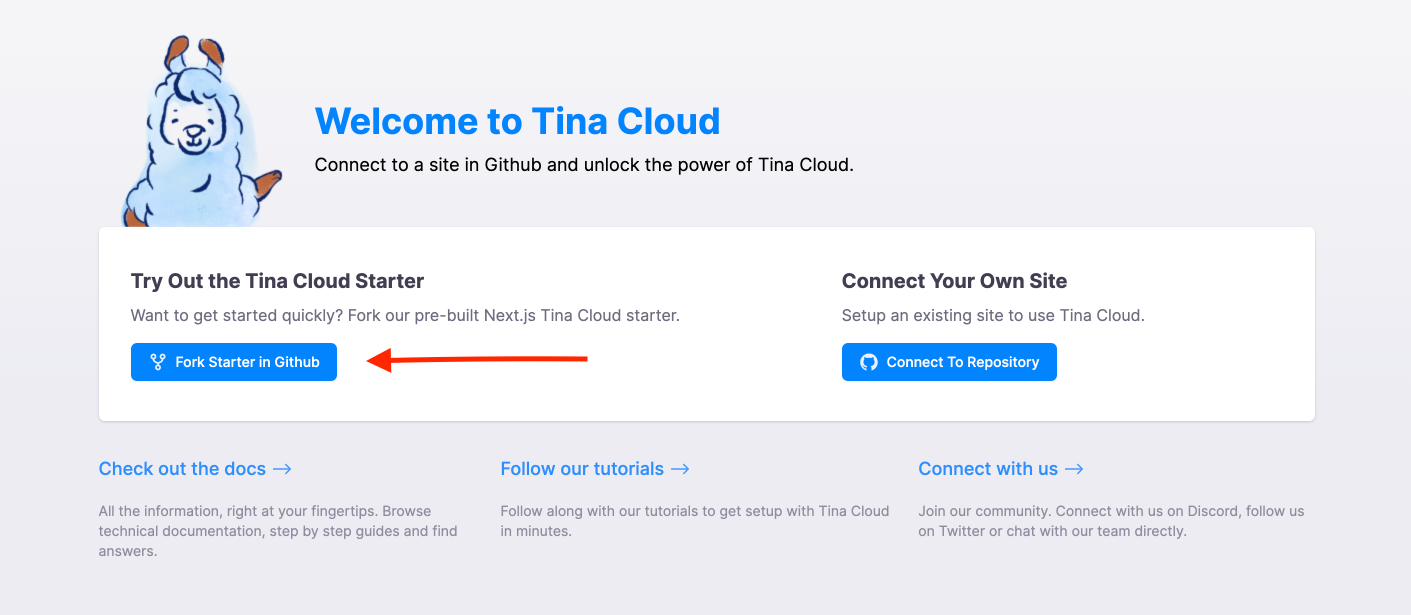
You will be prompted to fork the starter through the dashboard, but you can also check out this starter here: https://github.com/tinacms/tina-cloud-starter.
Site Urls
When creating an project, you will notice there is a section titled Development Environment. This section can be found in your project's Configuration page. This is where you enter the site urls where you will be using TinaCMS. This will most likely be http://localhost:3000 and your production url.
Note: You do not need to specify a specific route.
For more information about the dashboard and setting up an project, click here.
Last Edited: July 27, 2021