Tina Cloud Dashboard
Tina Cloud is in public beta. Get Started
The Tina Cloud Dashboard is the interface for managing the administrative aspects of your content management. The dashboard allows you to create projects, and setup your users.
Registration
To create an account navigate to the Tina.io Registration Page and enter some personal login credentials. Once your account is verified, you will be able to login and access the dashboard.
Projects
Projects connect Tina Cloud with a GitHub repository. A project is the connection point between your site and your users, allowing authorized users to access and modify a site's content.
If it is your first time accessing the Tina Cloud dashboard, you will be given two options for setting up your first project. You can fork our pre-built Next.js starter which gets you up and running with Tina quickly and easily. Alternatively, you can connect to your own GitHub repository.
Setup
1. Connecting a GitHub repository
When setting up a project, the first step will prompt for authentication with GitHub. A modal window asks for permission to give Tina.io access to your GitHub repositories. This authentication allows Tina Cloud to push and pull content to and from your GitHub repository.
2. Choosing a repository
The next step is to choose the repository that houses your site's content. If you don't see your repository within the list of repositories on the dashboard, you may have to re-configure your Tina.io permissions within GitHub.
3. Configuring a project
On the last step of project creation, we ask you to enter a bit of configuration.
Project Name
This name is shown to your users when they login to the project. The default is the repository name.
Development Environments
In these fields, enter both the local URL and the production site URL (if known). For security reasons, Tina will only work at these locations.
If you are developing locally, this value might be something like:
http://localhost:3000.
If Tina Cloud is configured on your production site, this value might be something like:
https://<YOUR-SITE-NAME.com>
Only the URL origin is needed, so there is no need to include the path to any specific pages.
4. Using your project
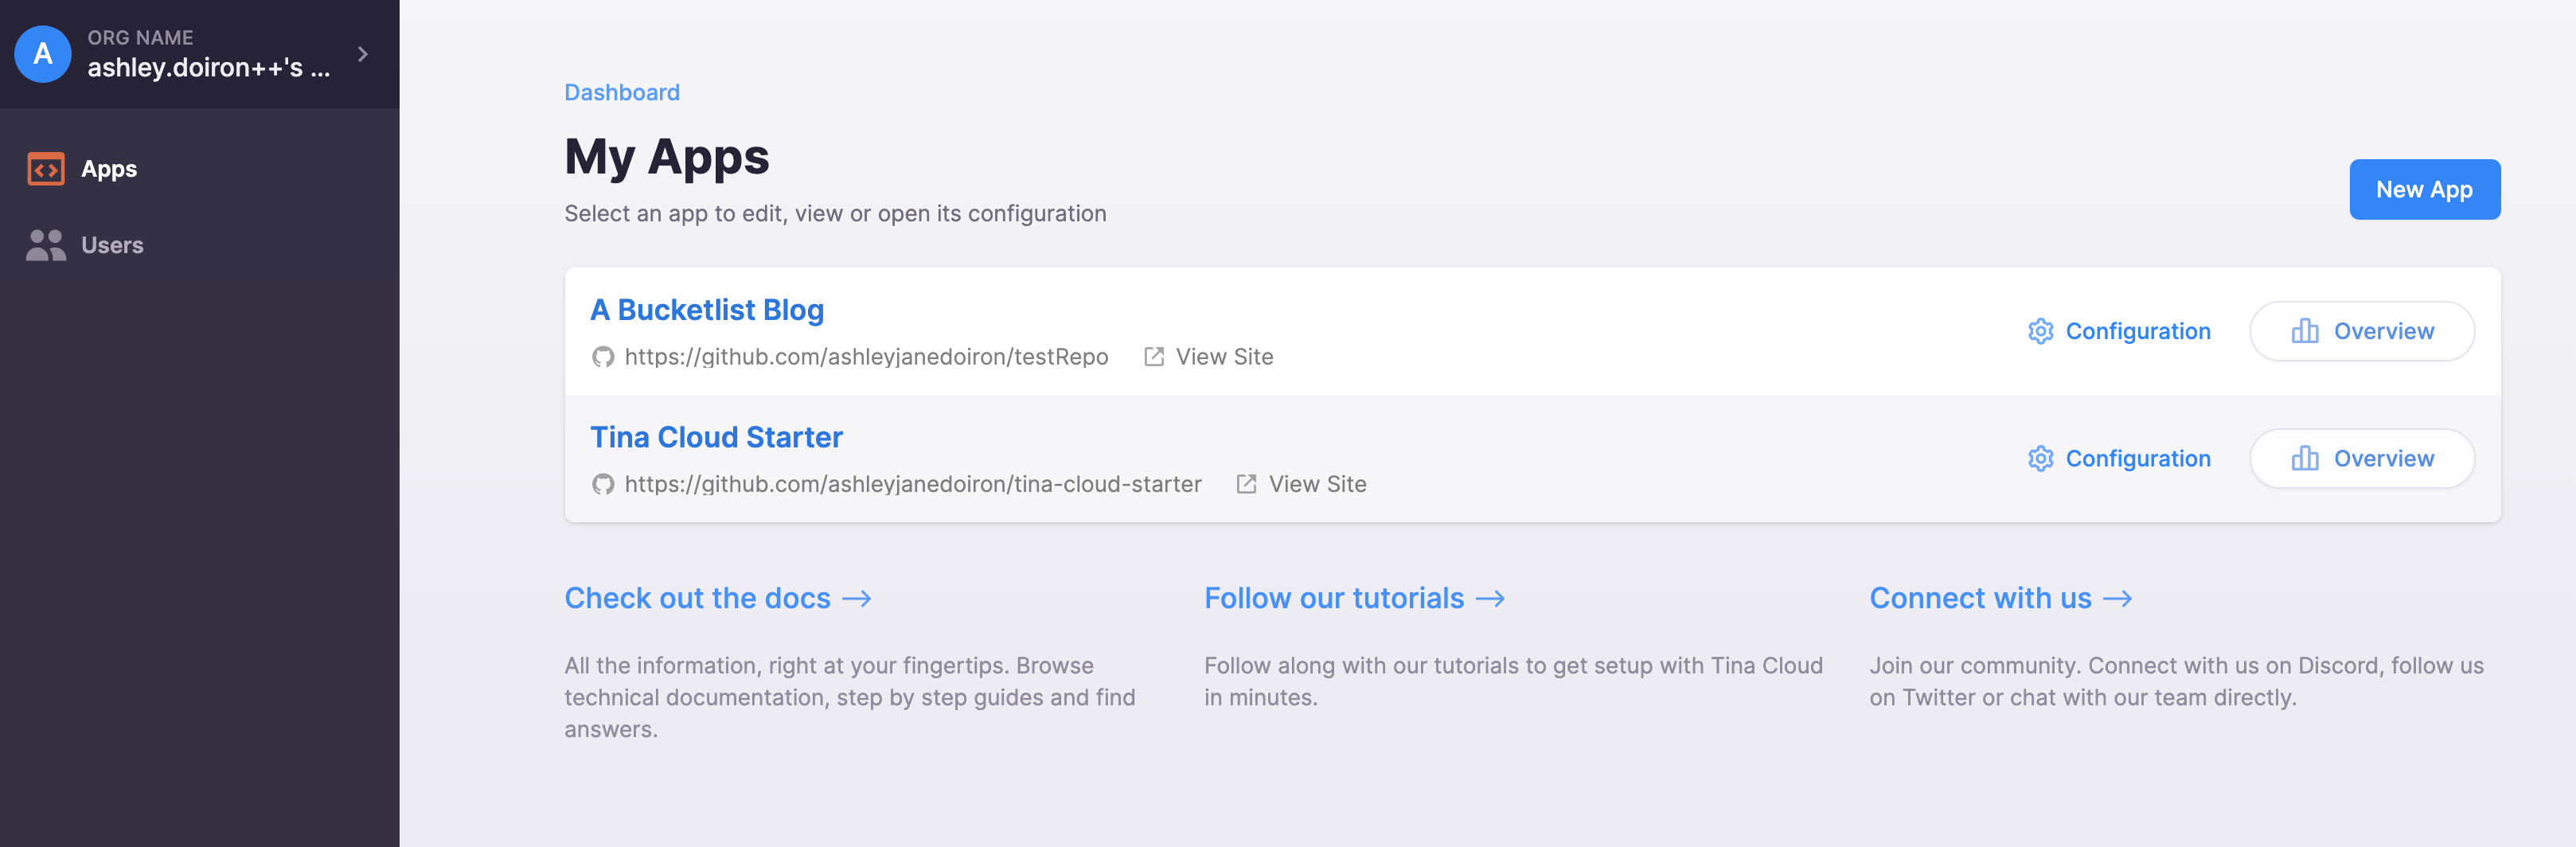
Once your project is created, you will see it listed on your Projects page.
A project's Overview page gives you an important value: your project's unique Client ID. This value is used by Tina Cloud to connect to your site's repository. You will need to use this as an environment variable when setting up your site to use Tina.
Users
The User section of the Tina Cloud dashboard allows external users to be invited to the Tina Cloud dashboard and grants them authorization to edit directly on a Tina configured site.
When a site is configured to use Tina Cloud, an authorized user will be prompted for their Tina Cloud credentials to access the editing route of the site.
Admins vs Editors
When creating a new user in the dashboard, the permission section will require a role selection for the user. The role breakdown is as follows:
An Admin has complete access to the Tina Cloud dashboard. This user can add, edit and delete Tina Cloud projects. This user can also setup additional user accounts or edit existing user accounts.
An Editor can login to the Tina Cloud dashboard but is only authorized to view the sites that are configured and navigate to them.
Both Admins and Editors are authorized to access the editing route on a Tina configured site. Both users can save content changes directly to a site's GitHub repository using the Tina sidebar.