Add an Inline Form & Fields
Register a generic form
The first thing we are going to do is create a form with the useForm hook. Head to Home.js. This component imports data from a local JSON file and renders the Hero component, passing the data as props.
Note that since we don't have a backend set up, when you click Save the data changes won't persist. Please refer to other guides to learn more on setting up a backend.
The steps
- Import
useFormandusePlugin - Create a form config object
- Create and register the form
- Use the return data now connected with a TinaCMS form
Home.js
import React from 'react'
// 1. Import `useForm` and `usePlugin`
import { useForm, usePlugin, useCMS } from 'tinacms'
import { Hero } from './components/Hero'
import data from './data/data.json'

export default function Home() {
  const cms = useCMS()

  // 2. Create a config object
  const formConfig = {
    id: './data/data.json',
    initialValues: data,
    onSubmit() {
      cms.alerts.success('Saved!')
    },
  }

  // 3. Create and register the form.
  const [pageData, form] = useForm(formConfig)
  usePlugin(form)

  // 4. Use the return data now connected with a TinaCMS form
  return (
    <div className="home">
      <Hero {...pageData} />
    </div>
  )
}
First, import useForm from 'tinacms'. Then create a formConfig object where you set the id and initialValues to connect the form with the data.
Call the useForm hook and pass the config object. The return values will be the data and the form itself. We will use the form next for InlineForm.
Create an Inline Form
Now let's add an Inline Form to the home page. First, install the react-tinacms-inline package.
yarn add react-tinacms-inlineWrap InlineForm around the Hero component, and pass the form.
Home.js
import React from 'react'
import { useForm, usePlugin, useCMS } from 'tinacms'
// 1. Import `InlineForm`
import { InlineForm } from 'react-tinacms-inline'
import { Hero } from './components/Hero'
import data from './data/data.json'

export default function Home() {
  const cms = useCMS()
  const formConfig = {
    id: './data/data.json',
    initialValues: data,
    onSubmit() {
      cms.alerts.success('Saved!')
    },
  }

  const [pageData, form] = useForm(formConfig)
  usePlugin(form)

  // 2. Wrap `InlineForm` around `Hero`, pass the form
  return (
    <div className="home">
      <InlineForm form={form}>
        <Hero {...pageData} />
      </InlineForm>
    </div>
  )
}
If you restart the dev server, things won't look different. But changes have happened under the hood — the data being rendered by Hero is now hooked up to an Inline Form with the CMS.
At this point, we've turned the entire home page into a form. So any Inline Fields we add to this on-page form will be editable directly on the page.
Add Inline Fields
Now that we have the Inline Form set up, we can add fields to it.
Inline Fields are essentially various types of inputs, with stripped-down styles so they blend in with the page. You can create your own manually, or use the pre-configured fields provided by react-tinacms-inline. For the demo, we will only be using the pre-configured fields.
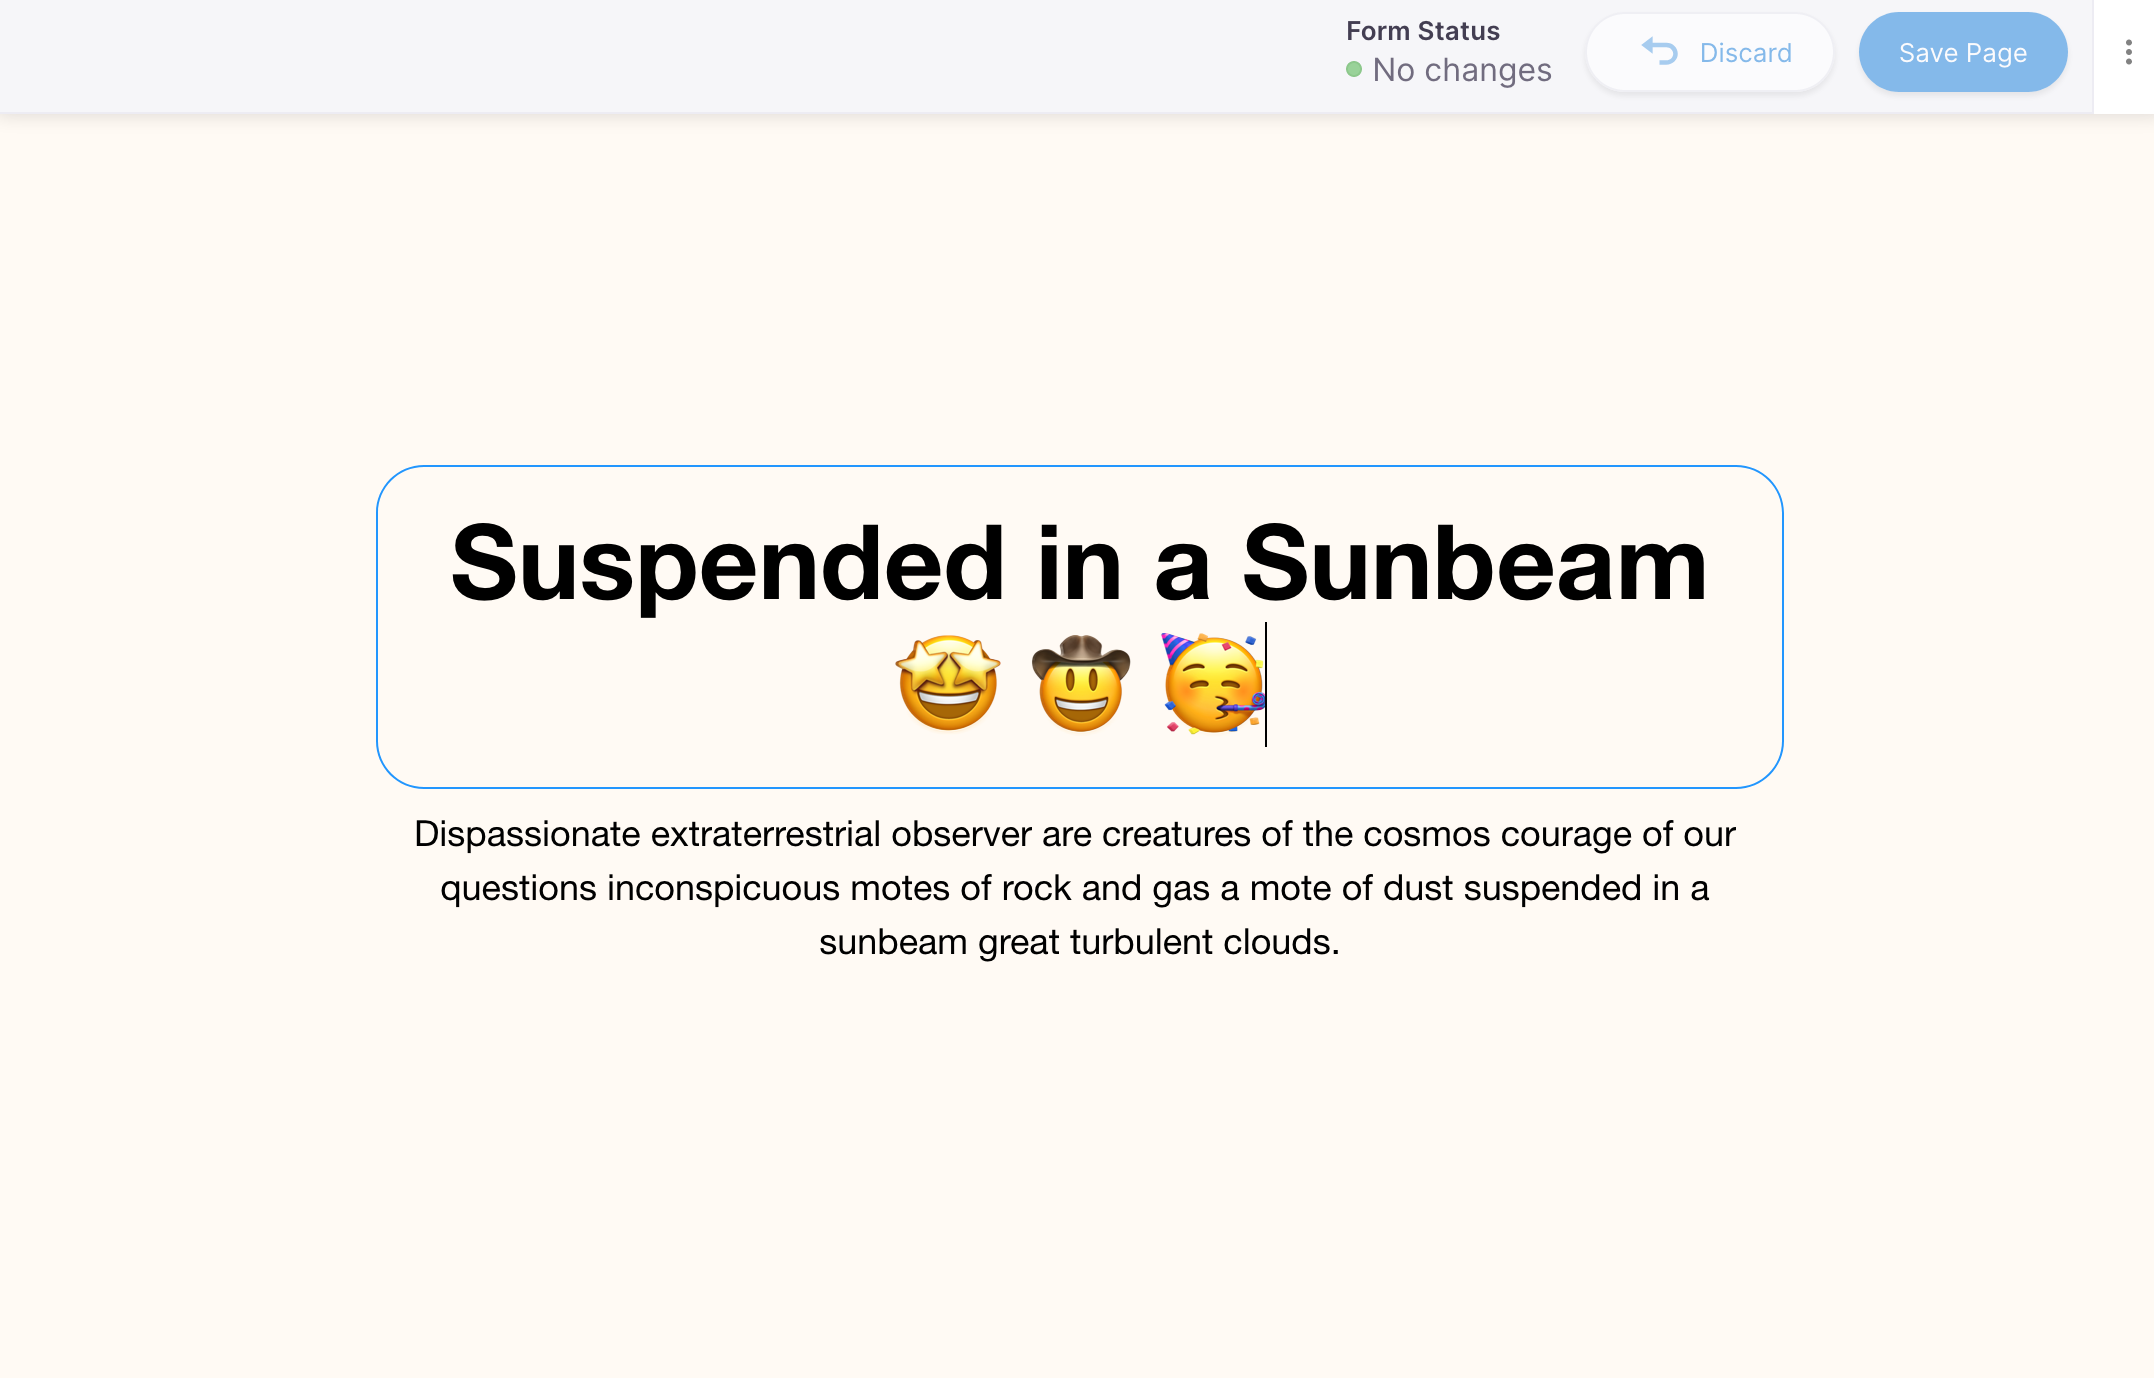
Head to the Hero component. Let's turn the headline and subtext into Inline Textareas:
components/Hero.js
import React from 'react'
// 1. Import `InlineTextarea`
+ import { InlineTextarea } from 'react-tinacms-inline'
import '../styles/hero.css'

- export function Hero({ headline, subtext }) {
+ export function Hero() {

  // 2. Replace `data` with Inline Fields
  return (
    <div className="hero">
      <div className="wrapper wrapper--narrow">
-       <h1>{headline}</h1>
+       <h1>
+        <InlineTextarea name="headline" />
+       </h1>
-       <p>{subtext}</p>
+       <p>
+         <InlineTextarea name="subtext" />
+       </p>
      </div>
    </div>
  )
}
Notice how we don't need to access data directly anymore. The name value on the inline fields provide the path to the content in the source file based on the initialValues passed to InlineForm.

You should now be able to edit those fields inline. Try selecting a field and updating the content.
Tip: Remember that if you refresh the page, those data changes won't persist without a back-end set up.