Loading Content from GitHub
Now that we have authentication and the Working Repository set up, it's time to wire up Preview Mode and set up content to edit.
Check out pages/index.tsx, right now the content for this page is statically written into the component. Let's create a data file to source this content from. Add a new directory in the root of your project called content (or data, whichever you prefer) and create a new file called home.json. We'll start small by just adding editing a title.
content/home.json
{
  "title": "Give me your tots 🦙"
}Back in pages/index.tsx, we need to set up data fetching. We will use getStaticProps to return different sets of data based on the "Preview/Edit Mode".
pages/index.tsx
import Head from 'next/head'
/**
 * Import helpers and GetStaticProps type
 */
+ import { getGithubPreviewProps, parseJson } from 'next-tinacms-github'
+ import { GetStaticProps } from 'next'

- export default function Home() {
+ export default function Home({ file }) {
+  const data = file.data

  return (
    <div className="container">
      <Head>
        <title>Create Next App</title>
        <link rel="icon" href="/favicon.ico" />
      </Head>

      <main>
        <h1 className="title">
          {/**
           * Render the title from `home.json`
           */}
-          Welcome to <a href="https://nextjs.org">Next.js!</a>
+          {data.title}
        </h1>

        //...

      </main>

      //...

    </div>
  )
}

/**
 * Fetch data with getStaticProps based on 'preview' mode
 */
+ export const getStaticProps: GetStaticProps = async function({
+  preview,
+  previewData,
+ }) {
+  if (preview) {
+    return getGithubPreviewProps({
+      ...previewData,
+      fileRelativePath: 'content/home.json',
+      parse: parseJson,
+    })
+  }
+  return {
+    props: {
+      sourceProvider: null,
+      error: null,
+      preview: false,
+      file: {
+        fileRelativePath: 'content/home.json',
+        data: (await import('../content/home.json')).default,
+      },
+    },
+  }
+ }
Make sure to commit your changes so that when you toggle 'Edit Mode', the content file will be in the GitHub repo. If you don't, you'll get a 404 error.
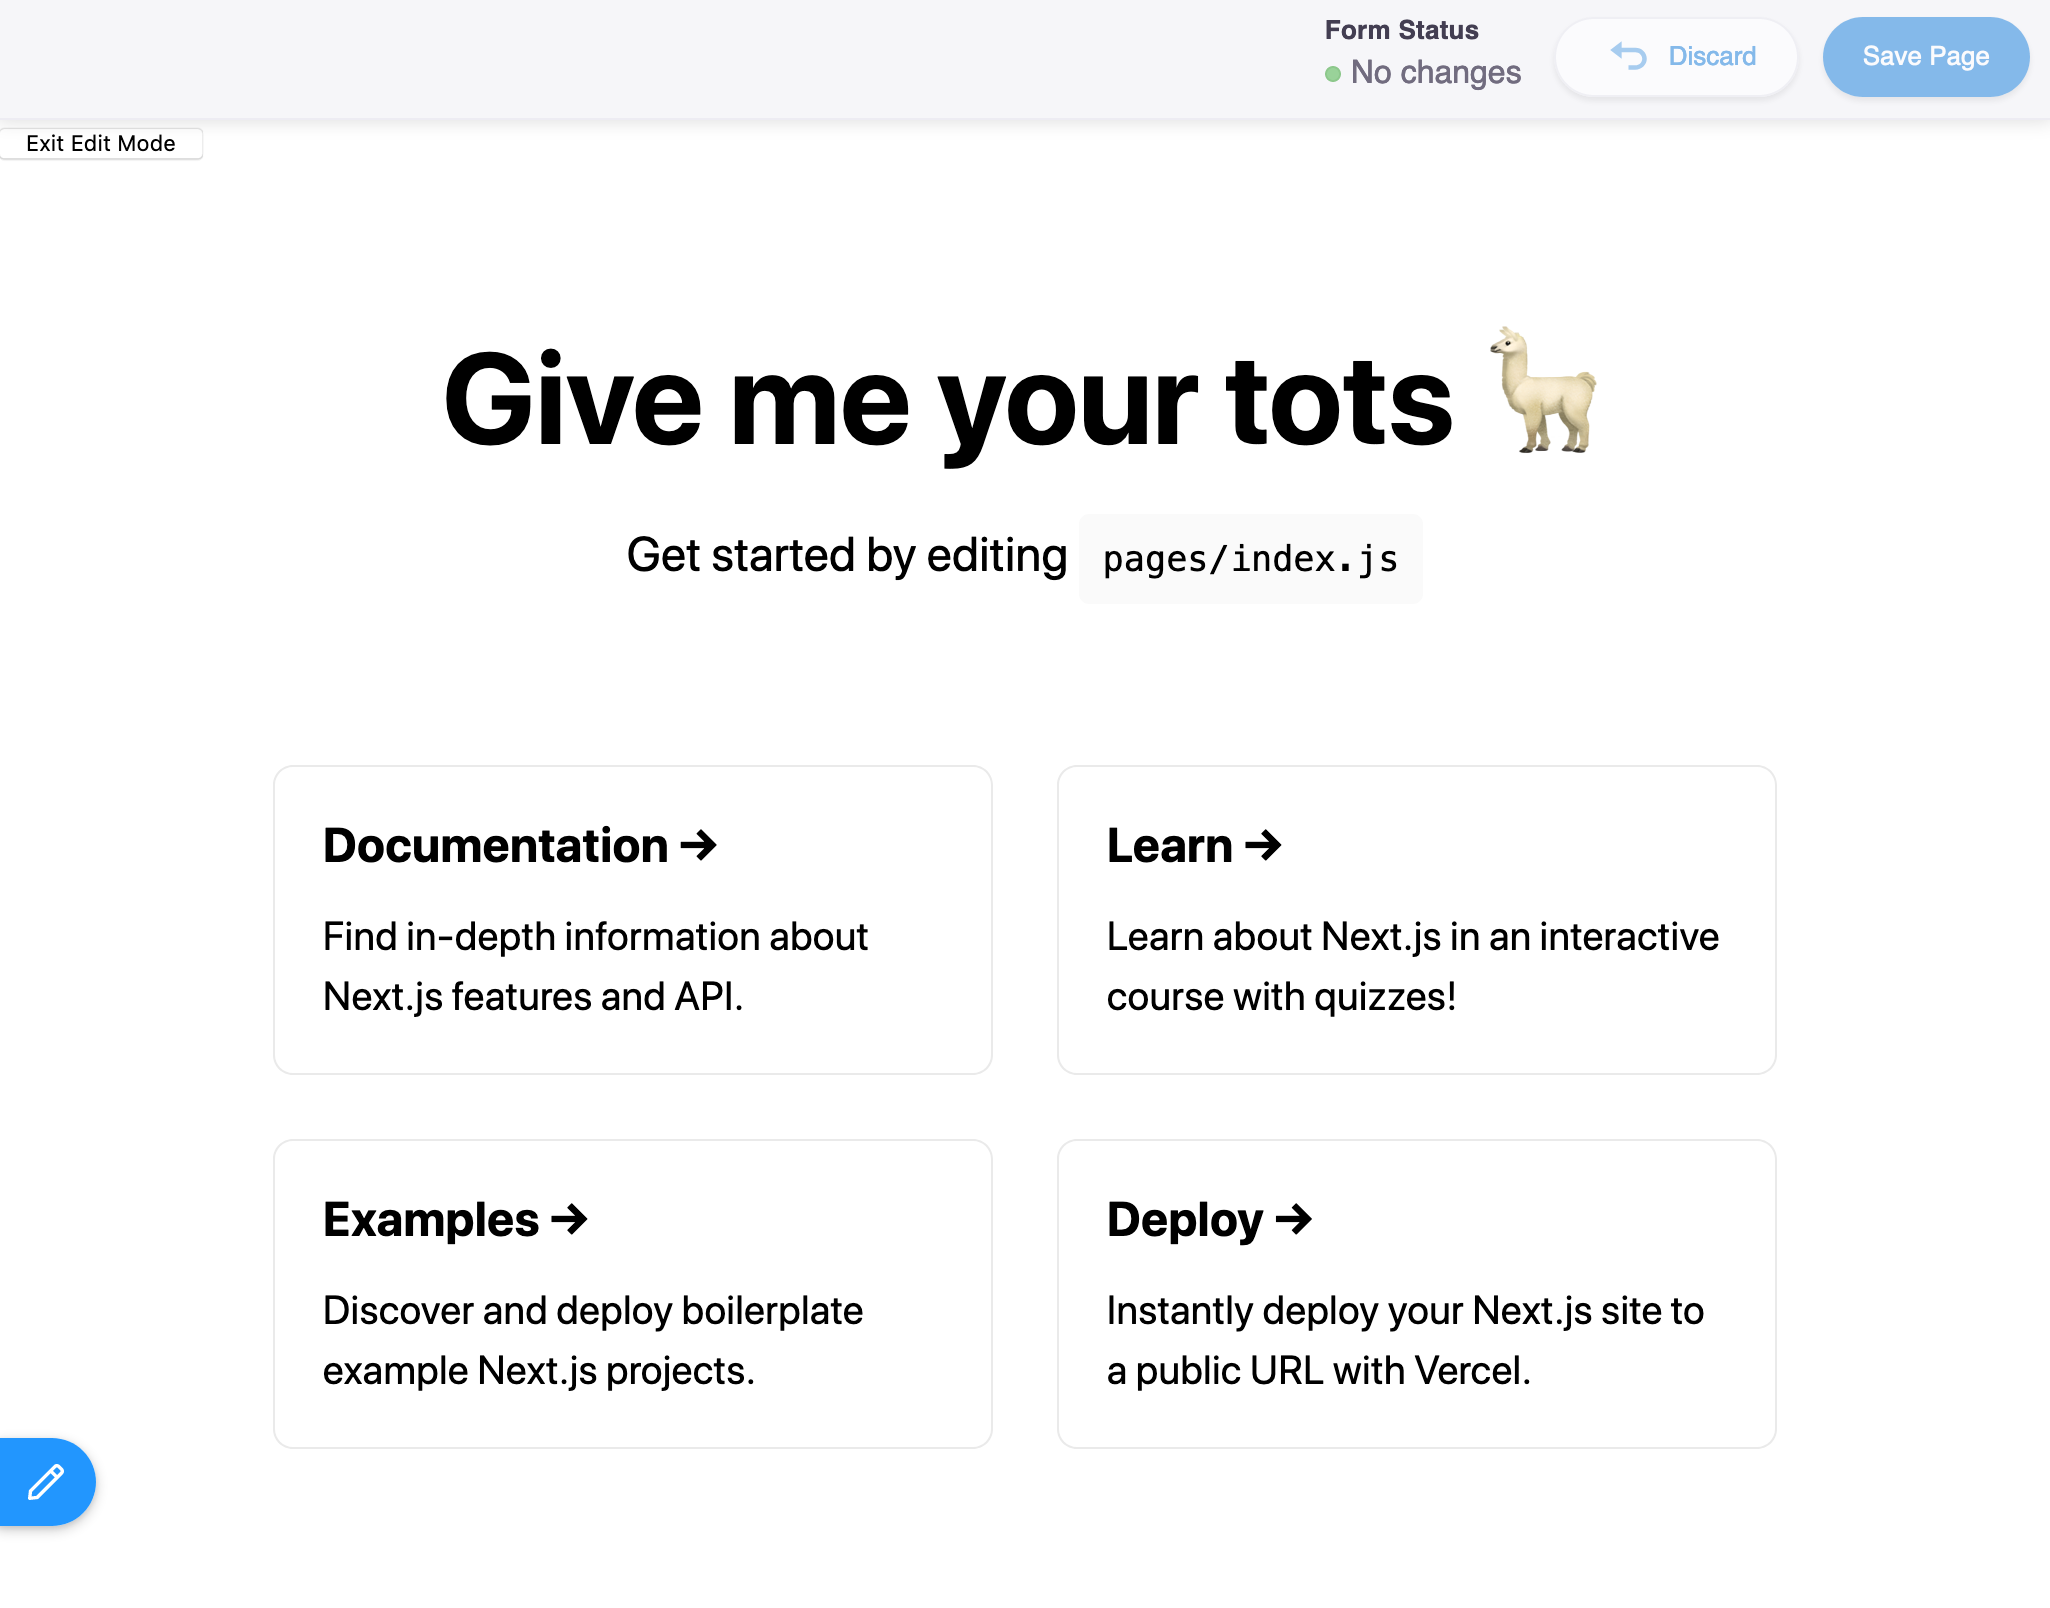
Now restart the dev server and hit 'Edit this Site.' If all goes well, your create-next-app should look something like the image below.

At this point, you've successfully authenticated, established a Working Repository and entered "Edit Mode"! Next, let's create a form to edit the data in home.json.