Editing Content
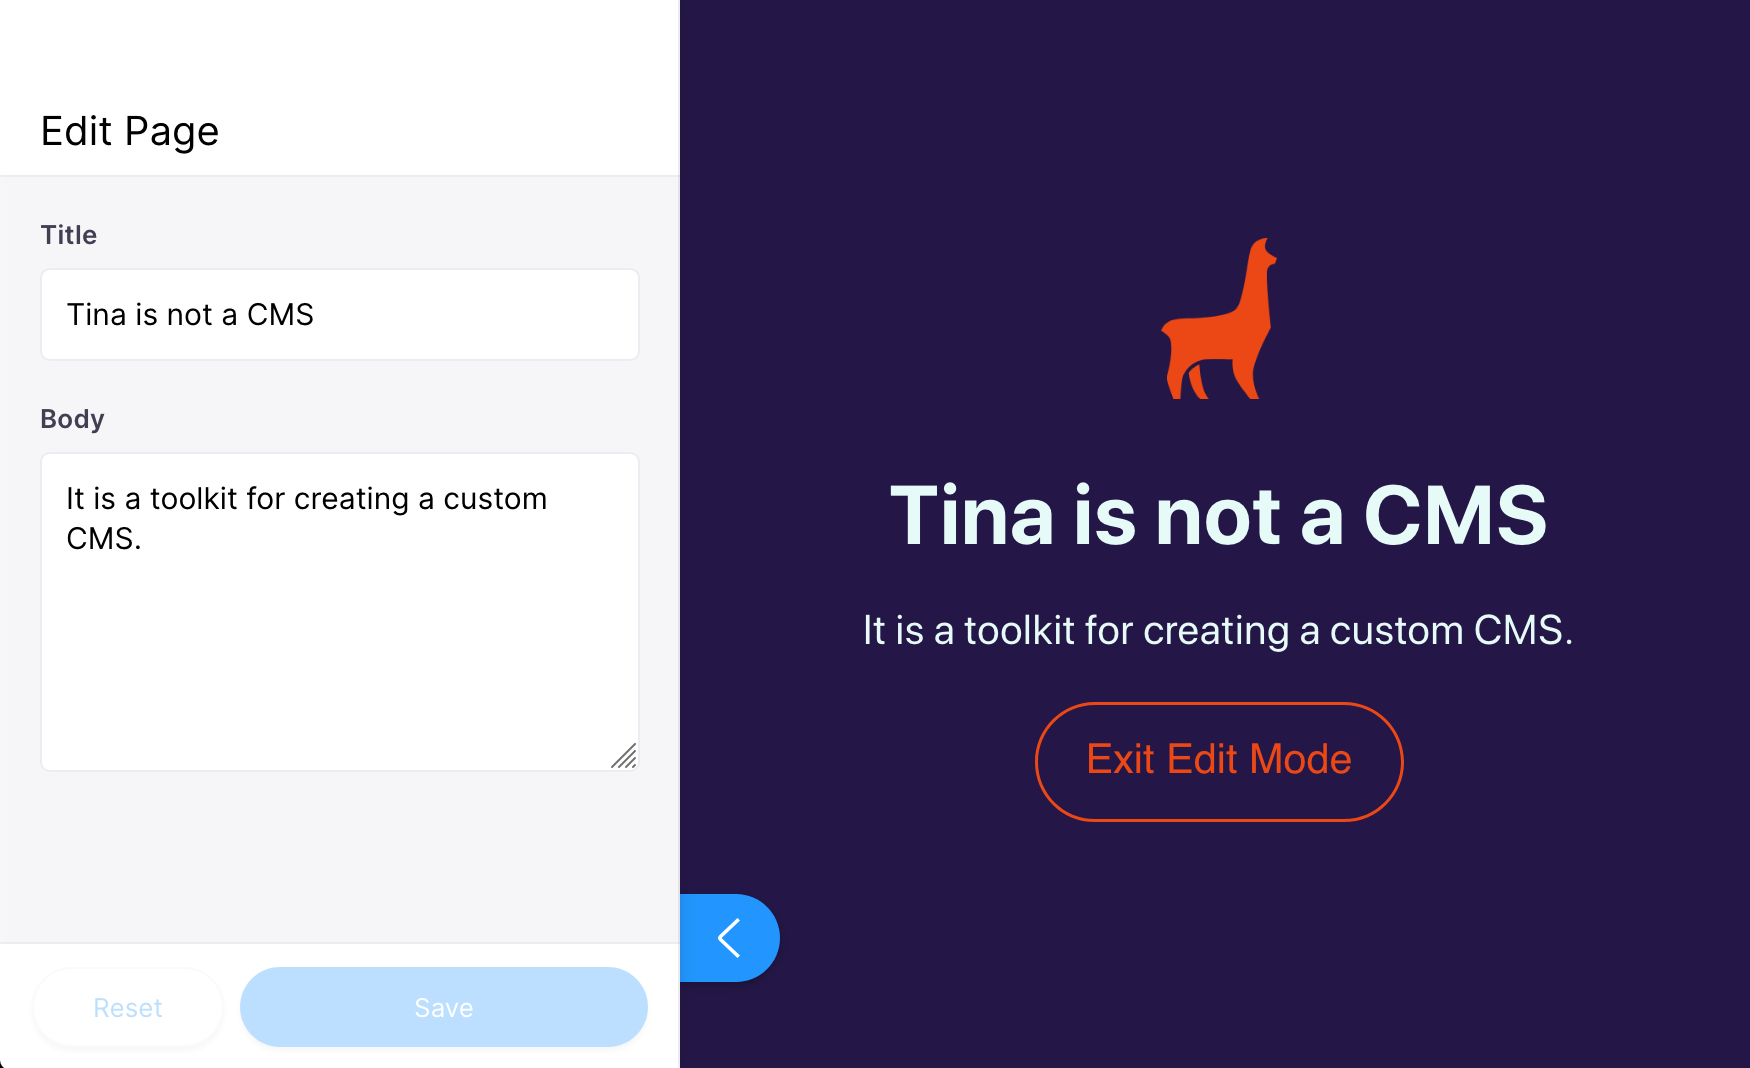
The purpose of a CMS is to allow editors to change content. Forms are a fundamental part of this as they define the editing interface for your content. In this step, we will create and register a form to edit data rendered on this page.
Create & Register a Form
We will use the useForm hook to create the form.
Calling useForm won't automatically make our form appear in the sidebar. There are multiple ways to use forms with Tina, and the sidebar is merely one option.
Although it doesn't automatically appear in the sidebar, the form returned by useForm is pre-configured to work as a sidebar plugin. To add this form to the sidebar, all we have to do is pass it into the usePlugin hook.
Fun Fact: Forms are a type of plugin in Tina.
The Steps
- Import the
useFormandusePluginhooks - Define the form configuration
- Create a form with
useFormand the config object - Register the form with
usePlugin - Render the data returned from
useForm
src/App.js
// 1. Import `useForm` and `usePlugin`
import { TinaProvider, TinaCMS, useCMS, useForm, usePlugin } from 'tinacms';

//...

function PageContent() {
  // 2. Define the form configuration object
  const formConfig = {
    id: 'tina-tutorial-index',
    label: 'Edit Page',
    fields: [
      {
        name: 'title',
        label: 'Title',
        component: 'text',
      },
      {
        name: 'body',
        label: 'Body',
        component: 'textarea',
      },
    ],
    initialValues: pageData,
    onSubmit: async () => {
      window.alert('Saved!')
    },
  }

  // 3. Create the form
  const [editableData, form] = useForm(formConfig)

  // 4. Register it with the CMS
  usePlugin(form)

  return (
    <section className="App-header">
      <img src={logo} className="App-logo" alt="logo" />
      {/**
       * 5. Render the `editableData` returned from `useForm`
       */}
      <h1>{editableData.title}</h1>
      <p>{editableData.body}</p>
      <EditButton />
    </section>
  );
}

//...
Edit the data
Head back to http://localhost:3000, enable the CMS, open the sidebar and try to update the content. You should now be able to edit the title and body copy on the demo!

Form Configuration
To gain a little clarity into how this is working, let's look closer at the formConfig.
useForm needs a form configuration object with properties that determine how the form behaves on load and save, what fields are available, and other metadata.
While there are other form config properties, the key ones to examine in the example above are id, fields, initialValues, and onSubmit. We'll look closely at each of these now.
id
The id is a unique identifier for the form. The id is hard-coded in our example, which is OK because the PageContent component is only used to render the home page. When you create a form inside of a component that is used on multiple pages, you will want to take care to ensure the form's id uniquely identifies the content currently being edited. Typically, you would use the content's filename, or a unique key returned from a content API.
fields
The fields array is comprised of field definitions. All fields share a common base configuration. Field definitions need at least two properties:
- a
name, indicating the path to access the data from the values object, and - a
componentthat displays the interface for editing the data.
You will be working with fields a lot in Tina. To get more familiar, try to adjust the label property or add a new field to the array. Reference the documentation for a full list of default field plugins.
initialValues
initialValues contains the data used to populate the form. If you need to load data asynchronously on form creation, you can instead use a function called loadInitialValues (we'll get to that soon).
onSubmit
This is a function that runs when the form is saved. Right now it just gives an alert message, but we will use this function later to post changes to a backend.
Next, we'll look at setting up a simple backend to retrieve and save data from a 3rd-party API.
Additional Reading
Gain a deeper understanding of how the
nameproperty in the field definition works.The field examples above uses two default field components:
text&textarea. Tina provides many other default field plugins. You can even create your own custom fields.There are other form creation helpers associated with various meta-framework integrations and backend configurations. Refer to the guides or packages documentation to find more information.
Tina uses the Final Form library for all base form configuration.